
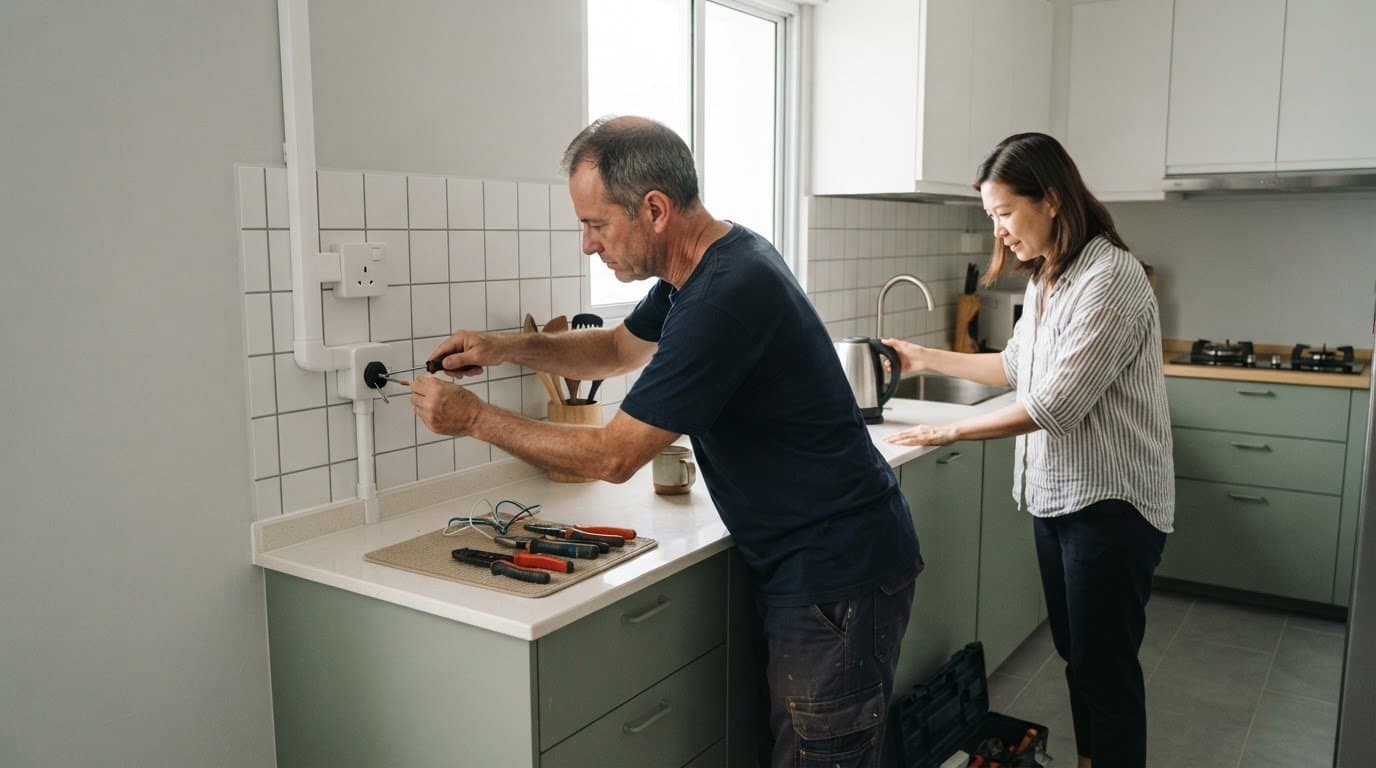
Common BTO Renovation Mistakes That Can Inflate Your Budget
Learn common BTO renovation mistakes to avoid: plan your budget, power points, materials and waterproofing for a practical Singapore home with fewer surprises.
The renovation quote is only a starting point for your budget. Set aside a 10% contingency above the quoted amount for a Singapore BTO renovation, and plan key decisions before work begins. The common BTO renovation mistakes to avoid include underestimating what your plans require, especially when budgeting, choosing materials and planning electrical points.
It’s easy to focus on visible finishes, but overlooking everyday usability or bathroom waterproofing can cause disruption and extra work later.
This guide covers how to plan a realistic budget, position power points around your routines, compare materials, protect everyday liveability and understand bathroom waterproofing. A clear sequence for making decisions can help you avoid preventable surprises and create a home that works well beyond handover.
Key Takeaways
- Set aside a 10% contingency above your renovation quote and identify possible extra work before finalising your budget.
- Plan power points around how you use each room, and allow for more points during renovation than you expect to need.
- Choose lighting and materials with Singapore’s humid conditions and your day-to-day cleaning routines in mind.
- Prioritise storage, circulation and practical daily routines alongside the look of your design.
- Plan bathroom waterproofing carefully, including adequate coverage on bathroom walls and in shower areas.
Table of Contents
- 1. Budgeting for overlooked renovation costs
- 2. Electrical load and power-point planning
- 3. Lighting, materials, and Singapore's humidity
- 4. Balancing interior design with livability
- 5. Bathroom waterproofing
- FT2 Interior Design: HDB BTO Home Renovation
1. Budgeting for overlooked renovation costs
Before signing, review the full renovation scope to reduce the risk of overlooked work disrupting your project. Compare each room on the floor plan with the tasks in the agreement. Note what will be removed, retained, repaired or installed, and record assumptions about existing surfaces, fittings and access. If site conditions affect the planned work, document the revised scope before work proceeds.
Debris removal needs a clear place in the project schedule. A 4-room resale renovation in Singapore generates 1-1.5 tonnes of debris. Renovation waste from HDB flats must be disposed of through licensed contractors at NEA-approved sites; HDB chutes cannot be used. Confirm who will arrange removal and when it will happen, so waste does not obstruct work areas or shared access.
For contingency planning, identify decisions that could change once work begins, such as uncovering damaged surfaces or revising a material selection. Keep a written record of the original scope, approved changes and who authorised each revision. This gives everyone a shared reference and helps prevent informal requests from being misunderstood.
When assessing a renovation contractor’s reliability in Singapore, review relevant credentials and check that documents name the contracting business. Make sure the written agreement identifies who is responsible for the work, project coordination and approvals. Keep these records with the signed scope, and confirm that the promised work matches the documents.
Some wall or floor-finish changes may need approval before work begins. Identify the proposed work clearly on the plans and include approval steps in the project sequence before scheduling affected work.
HDB restrictions apply to renovation work, so don’t assume every wall or floor finish can be changed as shown in a design. Separate decorative ideas from work requiring approval, and ensure the agreed plans reflect the authorised scope before construction begins.
Before signing a renovation contract in Singapore, review the work scope, materials, schedule, exclusions and process for recording changes. Check that the contract matches the latest drawings, names the responsible parties and explains how approvals will be handled. Keep a complete copy of the signed agreement and related plans.
For a new BTO flat, the Defect Liability Period is 1 year from key collection. BTO owners have a 7-day window after key collection to report defects such as cracked tiles or water seepage to HDB for free rectification. Photograph defects before renovation begins and keep the record with your handover documents.
2. Electrical load and power-point planning
A power point in the wrong place can make a finished room awkward to use. Before confirming your layout, map where appliances, lamps and charging devices will sit. Mark each point on a floor plan, then compare the plan with your furniture and cabinetry. The recommendation is to add 30% more power points than you think you need during renovation. This gives you flexibility for everyday devices without relying on extension cords across walkways.
Start with the kitchen, where several appliances may run at once. Mark the positions of your fridge, rice cooker, kettle, microwave and other planned appliances. Note which need continuous power and which only need an accessible socket during use. Keep sockets accessible after the cabinets are installed. One hidden behind a fixed appliance can be hard to reach when you need to switch it off or clean around it.
Plan for electrical load as well as socket locations. Make a list of appliances and share it with the electrician, especially if you expect to run several high-demand devices together. An upgrade to a 63A electrical supply in Singapore requires SP Group approval. Treat an upgrade as a planning decision, not a last-minute fix, and factor approval into the project sequence before electrical work is finalised.
In a compact BTO flat, plan power points around how each area will be used. For example, decide whether a bedroom desk needs sockets for a computer, task light and phone charger before positioning the bed and wardrobe. In the living area, consider the television, router, floor lamp and charging spot together. This helps manage cables and prevents furniture from blocking a socket.
Plan storage and electrical points using the same drawing. Measure the kitchen worktop, decide where small appliances will sit, then mark sockets above or beside those areas. In wardrobes and storage cabinets, keep switches accessible and avoid placing sockets where doors or drawers will block them. In a narrow entryway, a designated charging spot can keep devices off limited counter space.
Before construction starts, review the plan room by room. Check each power point against appliance locations, furniture dimensions, cabinet doors and daily routines. Mark changes clearly on the drawing and confirm final positions before the walls are closed and painted. Coordinating power and storage helps your BTO feel organised from the first day of use.
That figure helps you compare the convenience of adding a power point during renovation with the cost of postponing the decision.
Confirm positions while the electrical plan is being coordinated, especially where future appliance or furniture placements could make a socket hard to reach.
3. Lighting, materials, and Singapore's humidity
Singapore’s humidity makes material selection a practical decision, not just a colour choice. Compare finishes based on where they’ll be used, how they handle regular cleaning and how easily they can be maintained. Kitchen and bathroom surfaces, for example, face more moisture and frequent cleaning than a bedroom feature wall. Match each material to the room’s conditions before approving the finish schedule.
Check product information for indoor use and emissions, especially for boards, adhesives and coatings used across large surfaces. The stated formaldehyde safety standard for air-conditioned spaces in Singapore is less than 0.08 parts per million. Formaldehyde is a Group 1 carcinogen and can cause respiratory issues and chronic illnesses. Ask for the relevant product information and keep it with your renovation documents, so you can compare materials before selection.
Lighting should suit how each area is used. Start with the natural light available, then plan artificial lighting around specific tasks. A kitchen worktop needs clear task lighting, while a bedside lamp supports reading without lighting the whole room. In a study corner, direct light onto the desk and avoid placing it where your hand will cast a shadow across your work.
Plan lighting room by room instead of relying on a single bright ceiling light. Mark the dining table, sofa, wardrobe and work surfaces on your floor plan, then note where focused or softer lighting would help. A mirror near a window can spread daylight through a compact room, while a sheer window covering can soften glare without blocking all natural light.
Singapore’s tropical climate also makes airflow worth planning. Consider how air can move between openable windows and doors, and avoid placing tall storage where it blocks a useful route. For example, a full-height cabinet beside a window may restrict access or airflow. Check cabinet and furniture positions against window openings before finalising the layout.
Use this sequence to assess each finish and lighting choice:
- Room conditions: Note moisture, cleaning needs and exposure to daylight.
- Material details: Compare care instructions and available emissions information.
- Lighting purpose: Mark task, ambient and reading areas on the plan.
- Airflow: Check that window access and movement through the room remain practical.
A sample board helps you compare colours under the lighting planned for your home. View it near the intended window during daylight and under the selected lamps at night. This can reveal if a finish looks warmer, darker or more reflective than you expected.
4. Balancing interior design with livability
A BTO flat may look polished in a rendering yet feel difficult to use every day. Test the layout against your routines before approving finishes. Sketch where you’ll place the sofa, dining table, bed and storage, then check that doors, drawers and walkways still work. For example, a large dining table may leave too little room to move between the kitchen and living area.
Prioritise space optimisation over filling every wall with built-ins. A full-height cabinet can add storage, but may make a narrow passage feel tighter or block window access. List what you actually need to store, including cleaning tools, luggage and bulky household items. Assign each category a practical location before finalising cabinet sizes and positions.
Use a floor plan to test movement, not just furniture placement. Mark the route from the entrance to the kitchen, bedrooms and bathroom. Check that someone can pass when a wardrobe door or kitchen drawer is open. In a shared bedroom, plan access to both sides of the bed and keep frequently used items within easy reach.
Design choices should also account for cleaning and changing needs. Open shelves display books but require regular dusting. A low-maintenance surface may suit a busy kitchen better than a delicate finish. Place decorative features where they won’t obstruct switches, storage access or daily tasks. These trade-offs help a home feel considered without sacrificing function.
Engage an interior designer or contractor while you’re still shaping the layout, before you finalise cabinetry, finishes and work scope. A BTO renovation design phase takes 6-8 weeks; start the design countdown six months before key collection to allow time for decisions and planning.
Before confirming a design, imagine a typical day in each room. In the living area, picture carrying groceries from the entrance, preparing a meal and sitting down to eat. In the bedroom, consider getting dressed, charging devices and accessing clothes without moving furniture. These scenarios can expose conflicts a static plan may hide.
- Storage: Assign each household item a home before choosing cabinet locations.
- Movement: Test routes with doors and drawers open.
- Cleaning: Match finishes and shelves to the time you can spend maintaining them.
- Flexibility: Leave room for changing routines rather than designing around one idealised moment.
A workable BTO layout balances appearance with circulation, storage and daily habits. Resolve these practical choices on the plan, while they’re straightforward to discuss, rather than after built-ins define the room.
5. Bathroom waterproofing
Waterproofing sits beneath the visible tiles, so surface appearance alone cannot show whether the bathroom is protected. In Singapore, waterproofing should extend at least 300mm above floor level on all bathroom walls, and 1,800mm in shower areas. Keep these coverage requirements in the written scope and compare them with the planned shower layout before work starts.
Pay close attention to floor edges, wall corners, pipe openings and thresholds. These junctions need careful treatment because water can escape through gaps around fittings or changes in surface level. Confirm that the bathroom plan shows the shower area, floor falls and drainage position. A shower screen or kerb can affect water flow, so coordinate these details before tiling begins.
Don’t judge waterproofing by tile colour or grout appearance. Tiles and grout are the visible finish; the waterproofing layer beneath them provides the barrier. Ask for the waterproofing work sequence to be recorded in the project documents, including the areas covered and when the layer will be inspected. Keep photographs of concealed work with your renovation records before tiles cover it.
Before final payment, inspect the renovation room by room. In the bathroom, look for cracked or hollow-sounding tiles, uneven floors, loose fittings, damaged grout and water that remains after use. Check doors, cabinets, paintwork and switches elsewhere, then record each defect with its location and a clear photograph.
After the bathroom work is complete, check that water drains towards the floor outlet rather than collecting near the doorway or corners. Run water in the shower and observe the flow, then look for visible seepage on nearby surfaces. This check does not replace an assessment of concealed waterproofing, so keep the project records and note any concern promptly.
Use a short handover checklist to make the inspection consistent:
- Coverage: Compare the written scope with the 300mm wall coverage and 1,800mm shower-area coverage.
- Finishes: Look for cracked tiles, gaps, uneven edges and loose fittings.
- Drainage: Observe water flow and check for pooling after use.
- Records: Photograph defects and keep a dated list of locations and required rectifications.
For a BTO bathroom, decide on the shower placement, fittings and drainage before waterproofing begins. Late layout changes can affect the treated area and work sequence. A clear plan gives the installer specific boundaries to follow and gives you a practical reference during handover.
Plan bathroom details early as part of your BTO renovation planning, and keep waterproofing coverage visible in the written scope.
Keep the written scope, photographs of concealed work and handover notes together, so you can match any concern to the areas treated. If water remains near the doorway, seepage appears or you find a defect, document its location and raise it promptly with the renovation team. Avoid covering or altering the area before it has been reviewed, and ask for the proposed rectification and its scope to be recorded.
FT2 Interior Design: HDB BTO Home Renovation
FT2 Interior Design provides HDB BTO Home Renovation for homeowners planning a new flat’s layout, finishes and construction scope. Turn to the service when you’re ready to bring practical decisions together, from storage and circulation to lighting and bathroom details. A coordinated plan can help align your design choices with the work required, so important details are considered before renovation begins.
Use this guide to set your priorities, note questions that matter to your household and clarify what you want from each room. This gives renovation discussions a clear starting point and helps shape a home around your everyday routines.
Contact FT2 Interior Design to discuss your BTO renovation.
Make your renovation plan work for your household
Use the common BTO renovation mistakes to avoid as a final prompt to review your priorities before committing. Focus on what will make your home comfortable and practical for your household over time, not just what looks appealing today.
Turn that review into a clear brief: describe the atmosphere you want, what matters most in each room and where you’re willing to compromise. A focused brief gives your renovation discussions a useful starting point.
Discuss your renovation plans and take the next step with confidence.
Frequently Asked Questions
What are the most common BTO renovation mistakes in Singapore?
A common mistake is committing to a visual concept before deciding which choices are essential and which can be simplified. This can lead to rushed decisions when selections need to work together. Before finalising the design, write a short priority list for each room, such as a calm bedroom, easy-clean kitchen finishes or a welcoming entry. Use it to check whether each choice supports your household’s priorities.
How can I avoid hidden costs and renovation cost overruns?
Reduce the chance of overruns by separating confirmed requirements from optional upgrades before work starts. Identify the finishes and fittings needed for the home to function, then rank decorative additions by importance. This makes trade-offs clearer if you need to adjust the project scope. Keep one current record of approved selections so outdated ideas don’t reappear in later decisions.
What are common mistakes when planning BTO electrical points, lighting and air-conditioning?
A frequent oversight is treating air-conditioning, ceiling lights and window treatments as separate decisions. Their positions can affect one another: a curtain track may conflict with an indoor unit, while a ceiling feature can change where a light works best. Mark these elements together on the room plan, including the bed or sofa position. This helps you spot clashes before installation and keep window access practical.
Related Articles
31
Oct
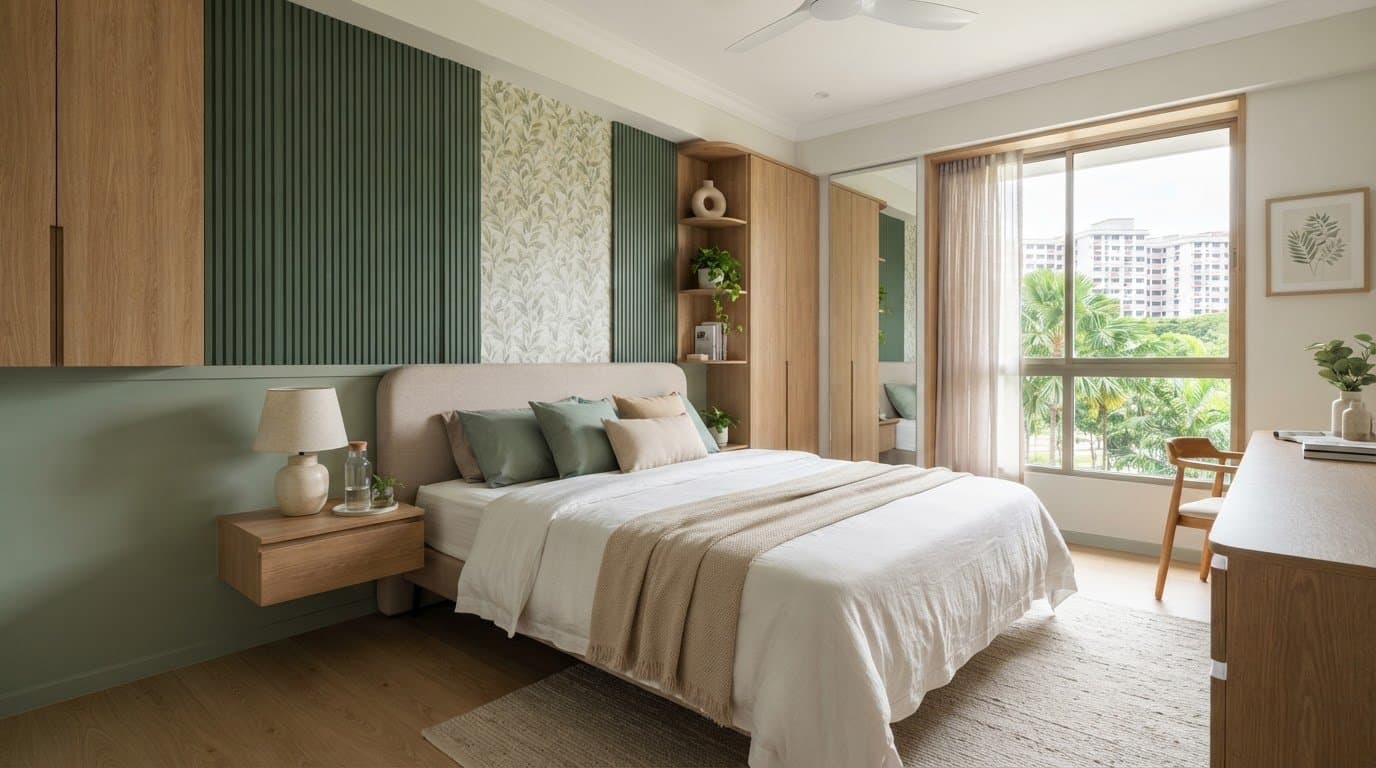
Feature Wall Ideas for Your BTO Flat, from Headboards to Stripes
Explore feature wall ideas for BTO flat bedrooms, from Japandi headboards and fl...
30
Oct
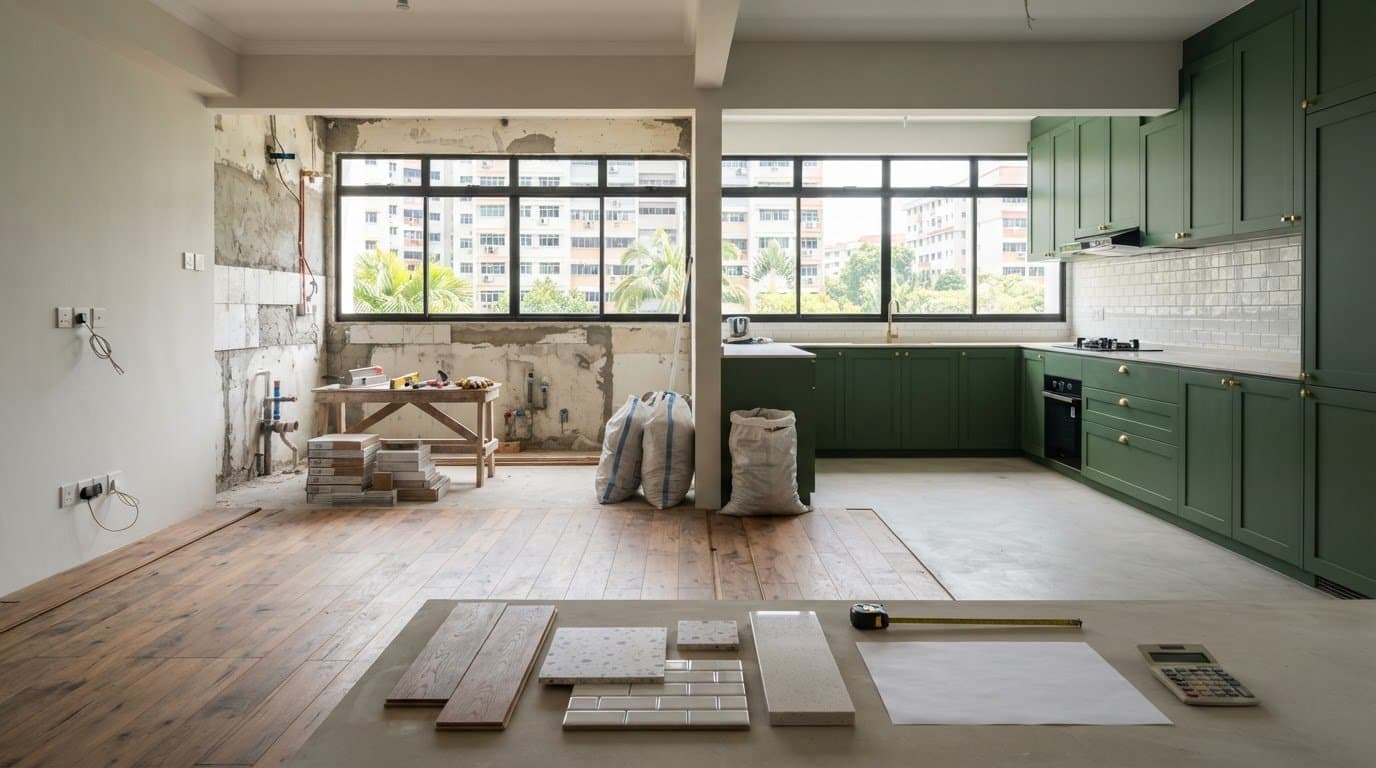
Costs to budget for when planning HDB renovation
HDB renovation hidden costs to expect: learn how hacking, wet works, permits, ha...
29
Oct
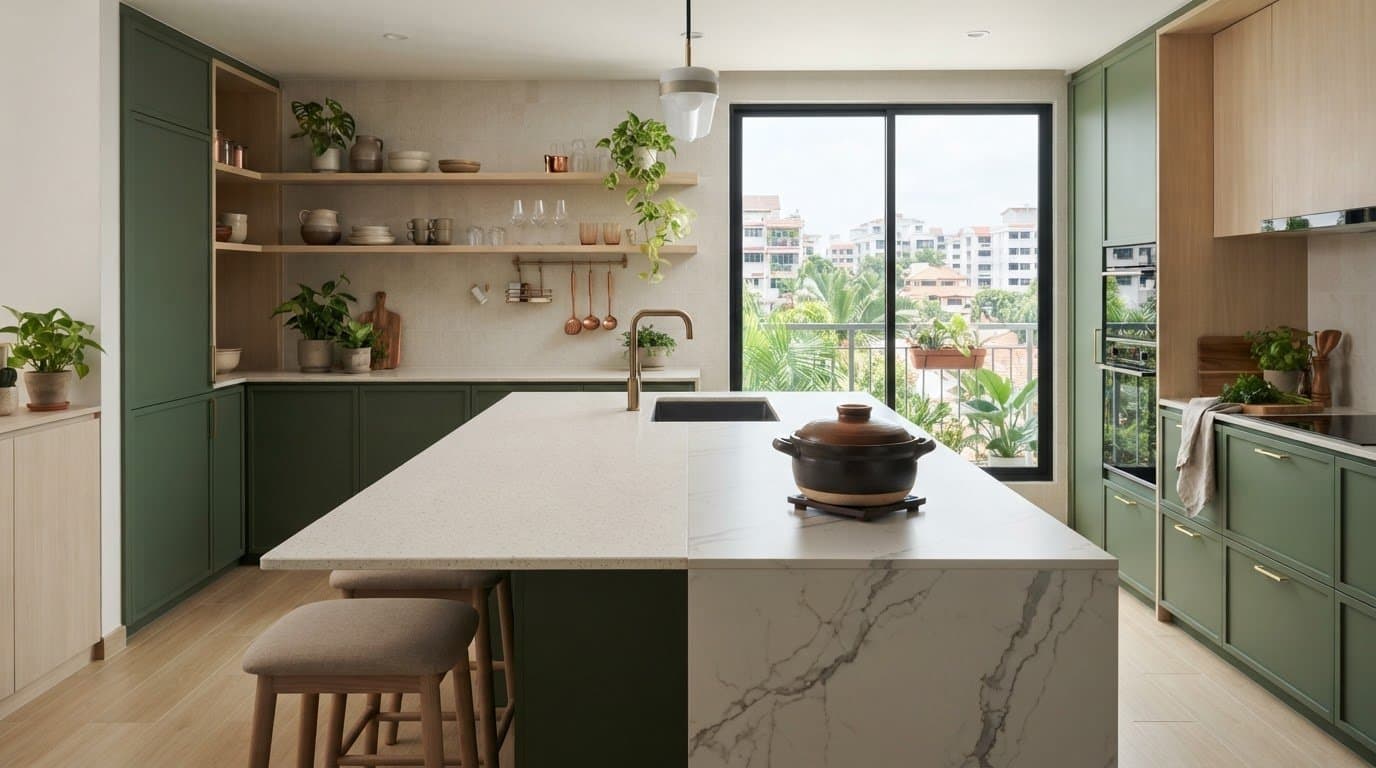
Quartz vs Sintered Stone Countertops: Which Should You Choose
Compare quartz vs sintered stone countertop options for heat resistance, care an...
28
Oct
Vinyl Flooring vs Tiles for HDB: Compare Costs, Comfort and Durability
Compare vinyl flooring vs tiles for HDB homes by comfort, durability, moisture s...
27
Oct
Choosing tiles for an HDB flat, from overlay options to flooring costs
Choosing tiles for HDB flat? Compare overlay options, porcelain, ceramic and vin...
26
Oct
BTO Key Collection: A Reference for Your Next Steps
Find out bto key collection what to do next: inspect defects, plan renovation, a...