
Post-Renovation Checklist Singapore: Before Moving In
Use this post renovation checklist Singapore homeowners can follow to remove fine dust, check for defects and compare completed work before moving in.
A clean home can still have defects, and a post-renovation clean does not demonstrate or guarantee formaldehyde removal. A post renovation checklist Singapore homeowners can use should cover both the dust left behind and the completed work compared with the renovation contract or quote.
It is easy to focus on visible dust before moving in. But a clean finish is only one part of being ready: check fixtures, finishes and appliances, and keep warranty documents accessible.
This checklist explains what a post-renovation clean may exclude, how to remove fine dust without spreading it, and how to ventilate new carpentry when odours linger. You will also learn what to inspect for defects, how to compare completed work with your contract or quote, and what to document before settling in. An item-by-item review helps you spot discrepancies while the renovation details are still fresh.
Key Takeaways
- Clarify which areas and tasks a post-renovation clean covers, especially in kitchens, bathrooms, windows and service areas.
- Remove loose grit and dust before damp-wiping or mopping to help prevent residue from spreading across surfaces.
- Keep appliance warranty details and renovation documents together so you can find them when needed.
- Ventilate new carpentry and allow lingering odours to clear before settling into the home.
- Compare finishes, fixtures and carpentry with your contract or quote, and record any discrepancies for follow-up.
Table of Contents
- What isn't part of a post-renovation clean?
- Dry dust removal before damp-wiping and mopping
- Registering appliance warranties and keeping documents
- Ventilating new carpentry to reduce formaldehyde odours
- Checking renovation defects against the contract or quote
- FT2 Interior Design
What isn't part of a post-renovation clean?
A post-renovation clean removes dust and residue, but does not automatically cover every task needed before you move in. The agreed scope matters: cleaning kitchen cabinets, bathroom fittings, windows and service areas can vary between appointments. Ask for the covered rooms, surfaces, equipment and supplies in writing. This makes it easier to see what the cleaning includes and what remains separate.
To arrange renovation debris disposal and final cleaning in Singapore, coordinate debris removal and book cleaning after all renovation work is complete but before furniture arrives. The National Environment Agency provides information relevant to renovation debris disposal. Confirm that the cleaner’s written scope covers the areas you need cleaned.
- Confirm whether kitchen cabinets are cleaned inside and out. Cabinet fronts and handles can collect dust, while shelves and drawers may hold sawdust or adhesive residue. Check whether emptying the cabinets is included, and remove stored items before cleaning if needed.
- List the bathroom surfaces and fittings to be cleaned. Include tiles, grout, shower screens, taps, toilet surfaces and vanity units. Cement or grout residue may need specific treatment; acid wash can damage some materials, including marble, so surface compatibility matters.
- Specify windows, frames and tracks separately. Glass cleaning may not include window tracks, which can trap grit, plaster and cement dust. State whether accessible glass, frames and tracks are covered, so the scope is clear.
- Name service areas and less-visible surfaces. Ask whether the yard, utility area, cabinets, ventilation grilles and vents are included. Dust on grilles or inside accessible cabinet spaces can remain even when the main floor looks clean.
- Clarify whether air-conditioner filter maintenance is included. Cleaning a room doesn’t necessarily mean the air-conditioner filter is removed and cleaned. Review the scope and arrange filter maintenance separately if it is excluded.
- Check how the written scope defines extra tasks. A Singapore cleaning quotation should identify the agreed scope, covered areas, equipment and supplies. This helps distinguish routine cleaning from separate requests, such as extra residue removal.
A professional clean is not a formaldehyde-removal treatment. Dust cleaning alone does not demonstrate or guarantee formaldehyde removal, so treat cleaning and any treatment as separate tasks. For DIY cleaning, check that cabinets, bathroom surfaces, window tracks, service areas and filters are included. Clear instructions help prevent missed areas and assumptions about what the appointment covers.
Dry dust removal before damp-wiping and mopping
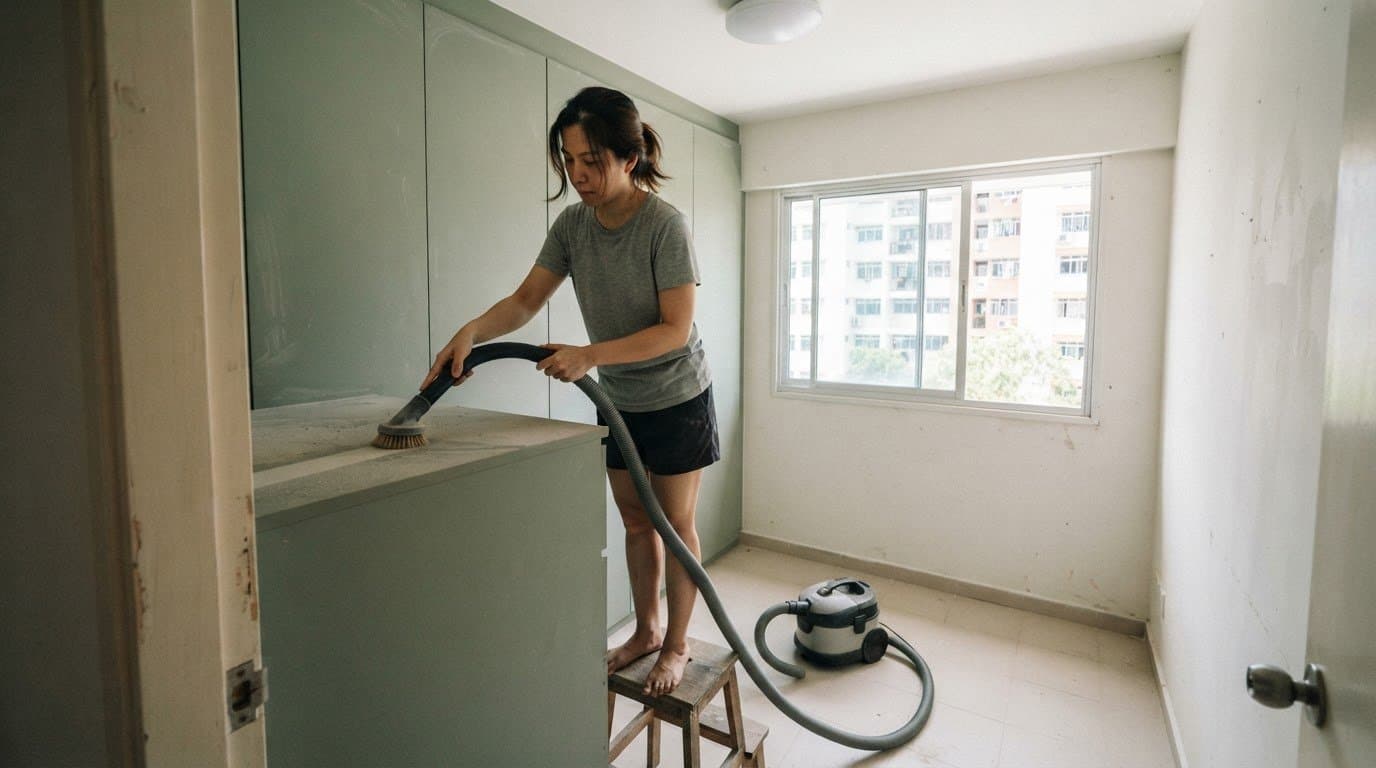
Once renovation work is finished, open the windows to air out the home and remove visible dirt with a dry clean. Renovation dust can keep settling for days, so wiping first may spread fine particles across cabinets, windows and floors. Start dry, then damp-wipe and mop after removing loose grit.
Follow a top-to-bottom route. Dust falling from a higher surface can land on areas you have already cleaned, so leave the floors until last. Work through each room systematically, including wardrobes, cabinets and drawers, rather than cleaning only open surfaces.
- Air out the rooms and clear loose debris. Open windows where practical, then collect larger scraps by hand so they don’t get dragged across floors.
- Work from high surfaces to low ones. Dry-dust shelves, the tops of wardrobes and cabinet exteriors before moving to lower ledges and furniture surfaces.
- Vacuum loose grit and fine dust. Use a vacuum on floors, corners and accessible surfaces before damp-cleaning; loose particles can spread or scratch surfaces when wiped.
- Open cabinets and drawers for a dry clean. Remove dust from empty interiors before putting belongings away, and check corners where sawdust may collect.
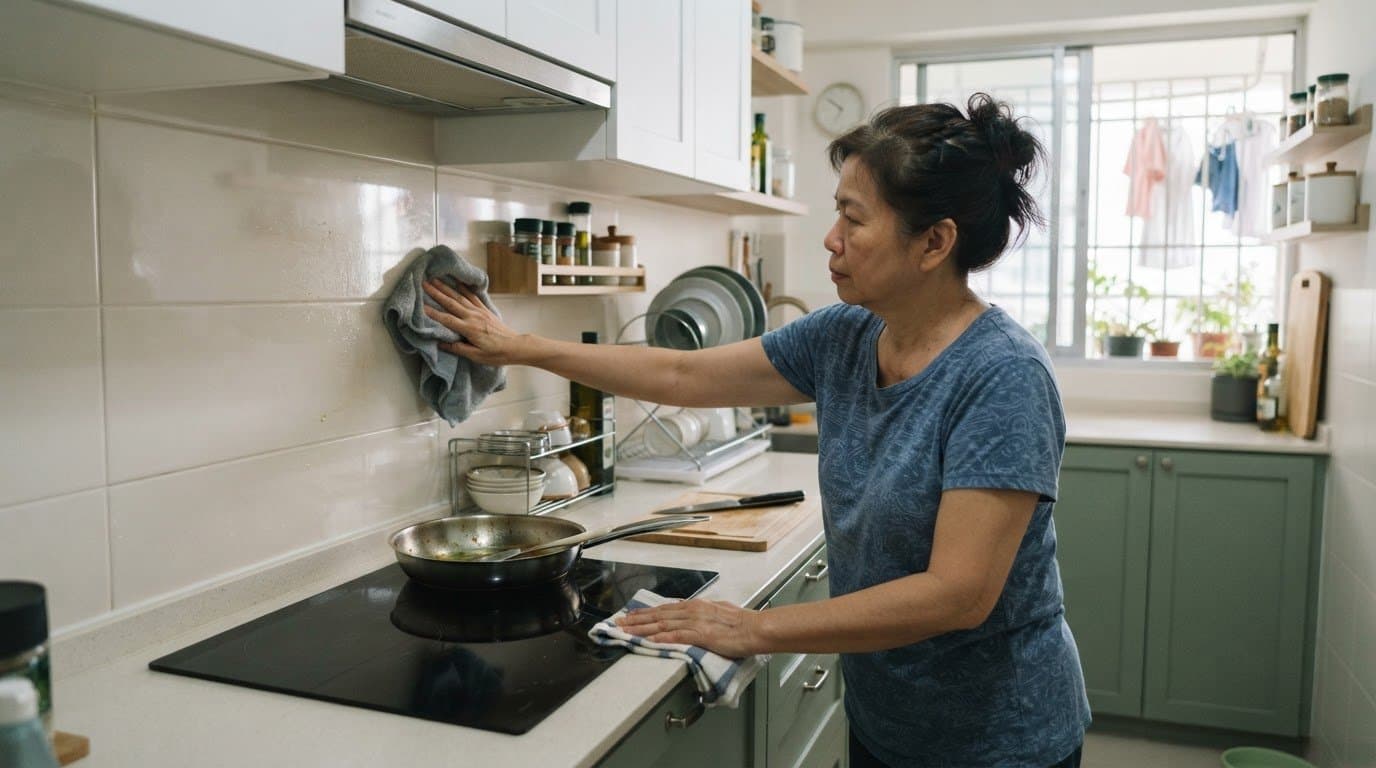
- Finish with damp-wiping and mopping. Use a clean, lightly damp cloth on suitable surfaces, then mop the floor last so falling dust doesn’t settle on freshly cleaned areas.
For windows, dry-clean frames and accessible tracks before wiping the glass. Tracks can hold grit that a wet cloth may turn into residue. In wardrobes and cabinets, work from the upper shelves down, then check drawer corners and handles. Change or clean your cloth when it visibly picks up dust; otherwise, you may transfer it to the next surface.
Make a fresh pass over each room’s floor after dusting and vacuuming. Pay attention to corners, skirting edges and spaces behind doors, where renovation debris can gather. Choose a method suited to the floor surface, since aggressive scrubbing or unsuitable products can damage finishes.
If you are cleaning yourself, repeat a daily clean during the first two weeks. Dust may continue settling for days after work ends, so a single pass can leave fresh particles on surfaces. A short, consistent routine helps you spot returning dust on window ledges, cabinet tops and floors, then remove it before unpacking more belongings.
Registering appliance warranties and keeping documents
Major appliances have different registration steps and warranty documents. Register each appliance according to the manufacturer’s instructions, then store the confirmation with the purchase record and product details. A complete file makes it easier to find the right information if an appliance develops a fault after you move in.
Start with the kitchen and laundry appliances you plan to use first. Keep the receipt, warranty terms, model information and registration confirmation together for each item. Photograph labels showing the model and serial details before an appliance is fitted into a cabinet or placed beside flooring. Store the images with your records, not only on your phone.
- Record each appliance as it arrives. Note its name, model details, delivery date and location, such as the kitchen or service yard, so you can identify it quickly.
- Complete the manufacturer’s warranty registration. Follow the instructions supplied with the appliance and save the confirmation alongside its warranty terms.
- Keep proof of purchase accessible. Store the receipt or invoice with the matching appliance record, since it can help establish which item the document relates to.
- Save installation and handover documents. Keep relevant paperwork with the appliance file so instructions and service details aren’t separated from the product information.
- Make a backup of digital records. Save scans or photographs in a clearly named folder, then keep paper copies together in a document sleeve or household file.
Keep renovation records separate from appliance warranties, but within the same home document system. Your signed contract or quote, product selections and handover notes can help establish which work or supplied items were agreed. For example, save details about flooring finishes and adhesive products with renovation documents, rather than treating them as appliance warranty papers.
Label folders by room or item, such as “Kitchen appliances” and “Laundry appliances.” This makes records easier to retrieve than a drawer full of unrelated receipts. When unpacking, match each appliance to its record before discarding packaging that may contain instructions or product information. If debris or dust remains around an appliance space, keep documents off the floor and away from cleaning supplies and the vacuum.
Create a simple digital index with the appliance name, model, room and file location. Keep the manufacturer’s instructions with the warranty record, and note when you completed registration. Accessible records make it easier to find paperwork without searching through drawers, delivery packaging and renovation debris when a question arises.
Ventilating new carpentry to reduce formaldehyde odours
New cabinets, flooring and adhesives can release chemicals, including formaldehyde, into a renovated interior. Off-gassing tends to be strongest during the first weeks after a space is finished. Ventilation helps move indoor air out and bring fresh air in, but no universal waiting period after carpentry installation guarantees a home is ready for occupation.
Start by opening windows to air out rooms with new carpentry. Where possible, open cabinet doors and drawers so air can circulate inside, not just across the room. Keep paths around wardrobes and built-in storage clear to allow airflow. Close doors to rooms without new cabinetry only if this helps direct airflow through renovated areas.
Singapore’s NEA ventilation and indoor air quality guidance provides building-level principles relevant to ventilation after renovation. Apply the basics: bring outdoor air in through open windows and let it circulate through the interior. Air new carpentry for a few days before moving in. Continue ventilating after move-in, especially during the first weeks when off-gassing tends to be strongest.
- Open windows in rooms with new cabinets. This creates an air path through areas where cabinetry and adhesives may release chemical compounds.
- Air the inside of storage units. Open wardrobe doors, cabinet doors and drawers so enclosed surfaces are exposed to circulating air.
- Keep ventilation routes unobstructed. Avoid stacking boxes or placing large items directly in front of open windows or cabinet openings.
- Ventilate after cleaning is complete. Dust cleaning should come before formaldehyde treatment, so the treatment can be applied to clean surfaces.
Formaldehyde treatment addresses chemicals released by new cabinetry, flooring and adhesives. It is separate from dust removal: a clean surface alone does not demonstrate formaldehyde removal. If treatment is planned, complete the post-renovation dust clean first, then ventilate the home as directed by the treatment process.
Do not use odour alone to decide whether a home is ready for move-in. New carpentry can have a noticeable smell, but ventilation and treatment are distinct from assessing every aspect of readiness. Consider the rooms affected, the amount of new cabinetry and whether windows can remain open. These conditions shape how air circulates through the interior.
Before unpacking, check that wardrobes, cabinets and drawers have been aired and that windows open freely. Continue ventilating as you settle in. Airing new carpentry for a few days is a practical step, not a universal guarantee that every home is ready for occupation.
Checking renovation defects against the contract or quote
For renovation defects, use your signed contract or quote and written warranty as the reference for the agreed work, coverage and reporting steps. In Singapore, keep defect reports and responses in writing so you have a clear record of the issue and follow-up.
The defects liability period and its coverage are set out in your renovation documents. Read the stated start and end points, covered work, exclusions and reporting process, as these can differ between agreements.
A finished-looking room can still contain defects that a deep clean will not reveal. Compare each completed item with your contract or quote, then record any differences before furniture blocks access. For example, check cabinet lengths against the agreed dimensions and inspect frames, paintwork and flooring in good light.
- Match each renovation item to the written scope. Compare the delivered carpentry, fixtures and finishes with the relevant contract or quote descriptions.
- Inspect surfaces and edges closely. Look for scratches, chipped corners, uneven paint and unfinished edges on cabinets, walls and door frames.
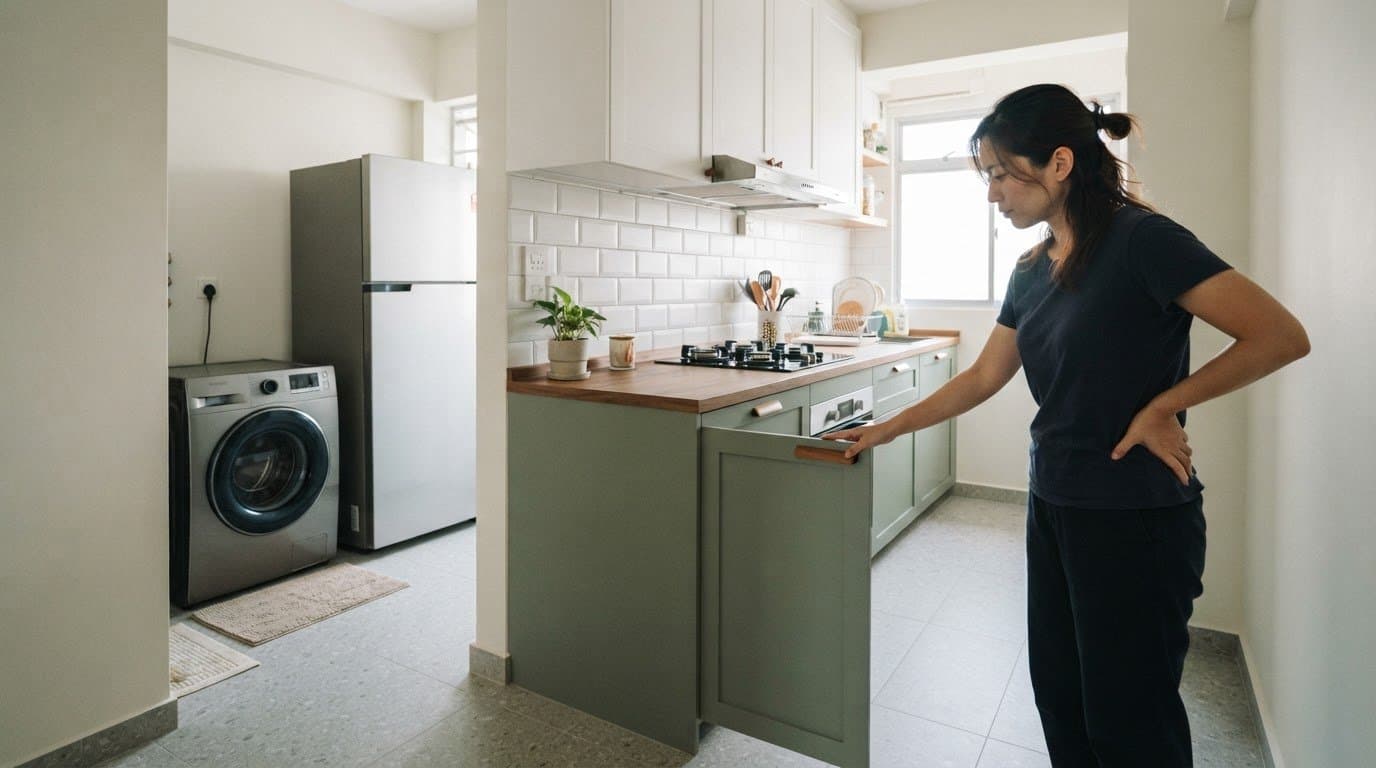
- Test moving parts and fittings. Open and close soft-closing hinges, drawers and cabinet doors to check their operation.
- Check flooring before placing furniture. Look across the floor for scratches or visible damage while the surface remains accessible.
- Record each discrepancy clearly. Note the room, item and location, and take photographs that show the defect in context.
- Send the list to the contractor in writing. Refer to the matching contract or quote item, describe the issue, and keep the reply with your renovation records.
Use specific descriptions rather than broad notes. “Scratch on the bedroom floor beside the wardrobe” identifies a location; “flooring issue” does not. A close-up photograph and a wider room view can show both the defect and its location. Keep the original images and messages with your signed documents.
Timing matters for practical access. Inspect flooring as soon as it is completed, before other fixtures or furniture cover it. During handover, check carpentry, paintwork, hinges and fittings while they are accessible. A deep clean removes dust, but does not confirm that workmanship matches the agreed scope.
If an item differs from the written description, send the contractor the relevant document extract and your defect record. Keep the discussion focused on the agreed specification, the visible condition and the correction requested. Store the updated response with your contract, quote and warranty documents.
For a renovation planned around clear specifications and handover checks, discuss your home renovation plans.
Use the signed contract or quote and written warranty to assess whether the work matches the agreed scope and coverage. If there is a dispute, support your position with a written defect report, photographs and the relevant document extract. Keep the contractor’s response with your records.
The period’s length and coverage depend on the renovation documents, including their stated start and end points, covered work, exclusions and reporting process. Check these terms in your contract or quote and written warranty.
FT2 Interior Design
FT2 Interior Design helps you plan a home renovation with clear scope and decisions before work begins. If you’re preparing for an HDB BTO or resale renovation, a condominium renovation, or landed property design, align the agreed finishes and fixtures with your priorities from the start. A written scope gives you a practical reference when reviewing completed work against your contract or quote.
Bring your room requirements, preferred finishes and renovation priorities to the planning discussion. Clear documentation makes it easier to understand what has been agreed and what to review at handover. It also connects design choices with the practical checks you will make before moving in.
For help planning your renovation, contact FT2 Interior Design.
Plan your next move with clarity
Use a post renovation checklist Singapore homeowners can refer to as a starting point for better decisions on a home project. Before work begins, identify what matters most: how each room should function, which finishes suit your household, and what details need to appear in the written scope. Clear priorities provide a stronger basis for discussing plans and reviewing the finished work.
FT2 Interior Design offers HDB BTO Home Renovation, HDB Resale Home Renovation and Condominium Home Renovation. These services support homeowners planning different types of homes, with renovation decisions shaped around the property and your requirements.
When you’re ready to plan your next renovation, start a conversation with FT2 Interior Design. Take the next step with a clear brief and confidence in the decisions ahead.
Frequently Asked Questions
Before the clean: what needs to be ready?
Before cleaners arrive, arrange access to the unit and explain any building entry procedures or lift arrangements that may affect their arrival. Make sure lights and water are available if the cleaning tasks require them. Keep pets and fragile personal items away from active work areas. A short written note naming priority rooms and surfaces requiring special care helps the cleaning team follow your instructions.
Do I need to be home during the clean?
You do not have to remain at home for the entire appointment if access is arranged. Agree on a key handover or entry plan, share instructions for the rooms being cleaned, and decide how the cleaner can reach you with questions. If you prefer to be present, review the agreed areas at the start and walk through them after the work is complete.
Plumbing, lighting, and electrical working or not?
Arrange a handover demonstration for controls or fittings you are unfamiliar with, especially new switches, dimmers or appliance connections. Ask the installer to explain which controls operate each feature and how to shut off equipment if needed. Do not open electrical fittings or plumbing connections yourself. If a control behaves unexpectedly during normal use, record what happened and raise it with the relevant installer.
What should you check on the final walkthrough?
Bring the latest contract, approved changes and room plan, then follow one consistent route through the home. Mark each item as reviewed and note anything needing clarification before signing off on the walkthrough. Check that renovation changes appear in the final records. Keep a copy of your completed notes to track follow-up without relying on memory.
What should be included in a post-renovation inspection checklist in Singapore?
For each concern, record the room, item, date observed, a short description and a photo reference. Add the relevant contract or approved-change item, where applicable, along with the person notified and the response received. This turns a post-renovation inspection checklist for Singapore homes into a useful follow-up record, rather than a collection of unlabelled photographs or verbal reminders.
How do I check renovation workmanship before sign-off in Singapore?
Use your written agreement and approved changes as your reference. Before signing off, check that the agreed work and approved changes are recorded as completed, and make a written note of any outstanding item. Request the completion record or response in writing, then store it with the contract. Keep any follow-up arrangements in writing.
What are the common renovation defects to inspect in a Singapore HDB flat or condo?
Look beyond surface appearance for recurring dampness or mould, particularly where moisture may be entering behind a finish. A professional defect-checking service can conduct water ponding tests to help assess waterproofing and drainage. Widespread, recurring or concealed mould calls for professional assessment. Effective remediation addresses affected materials and moisture conditions, not just visible stains.
How do I test plumbing, electrical points, air-conditioning, and appliances after renovation?
Use newly installed equipment normally and note any error message, unusual noise or interruption. For appliances, check that the controls respond as described in the supplied instructions. Observe whether air-conditioning operates normally during routine use. Briefly record when an issue occurs and which item is affected, so the relevant installer can understand the problem without guesswork.
Related Articles

14
Nov
Renovation Warranty Cover in Singapore: Defects and Claims
Searching "what does renovation warranty cover singapore"? Learn about workmansh...
13
Nov
Easy to Clean Kitchen Backsplash Ideas for Every Kitchen
Explore easy to clean kitchen backsplash ideas, from smooth glass and porcelain ...
12
Nov
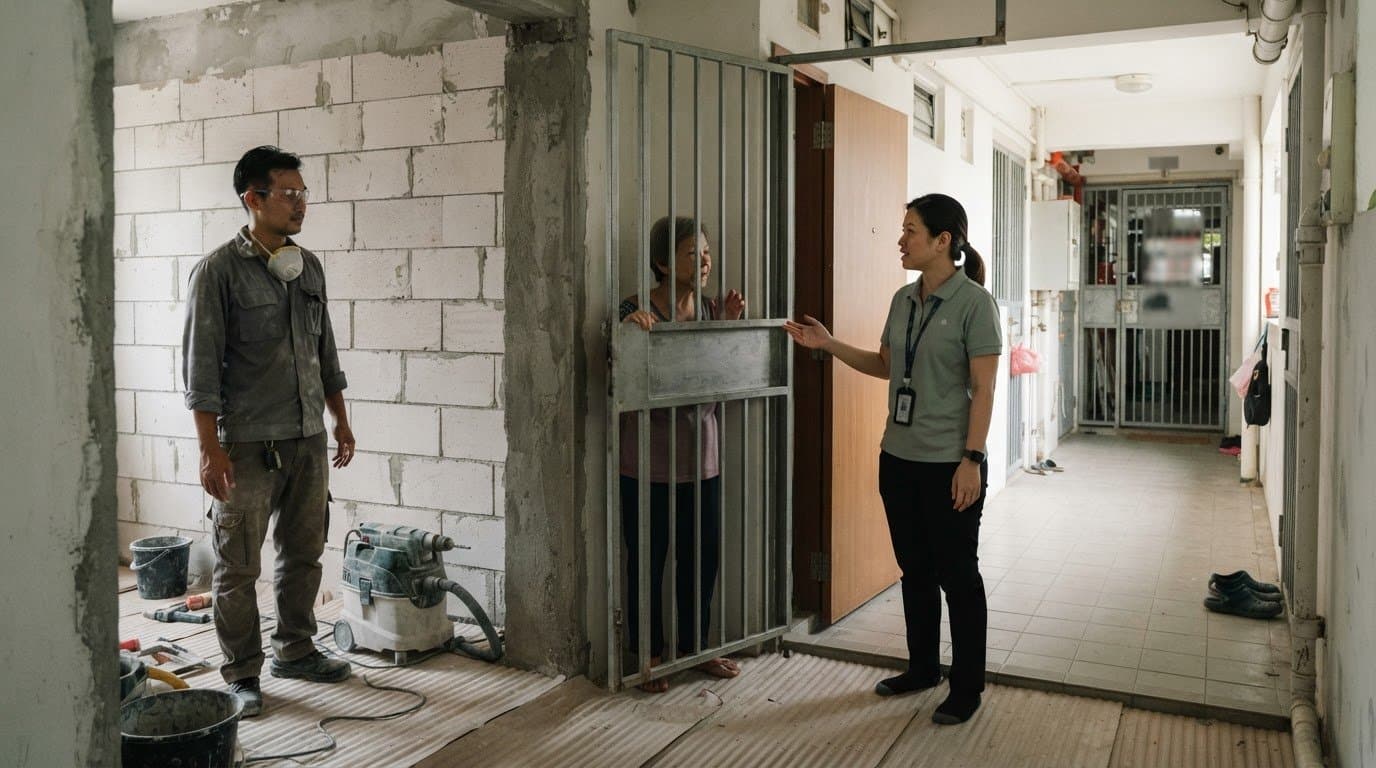
Managing Renovation Noise Complaints: Hours, Limits and Next Steps
Managing renovation noise complaints in Singapore? Learn HDB work hours, restric...
11
Nov
Renovation Loan vs Personal Loan in Singapore: Compare Costs
Compare renovation loan vs personal loan Singapore by permitted uses, rates, rep...
10
Nov
Feng shui for your HDB main door, starting with your new home
Explore feng shui for hdb main door placement, nearby corridors and door alignme...

09
Nov
How to Plan Your BTO Renovation Before You Collect the Keys
Learn how to plan your BTO renovation before key collection, compare proposals, ...